Many parts of any car restoration require polishing if the result is to be what came out of the factory, or even better. With this in mind, and my experience with the Corvair and Mini, I set out to polish what I had on my Dauphine.
A few years ago I published this process for polishing my Corvair (and added a little of the Renault later), but here we will go straight to the Renault.
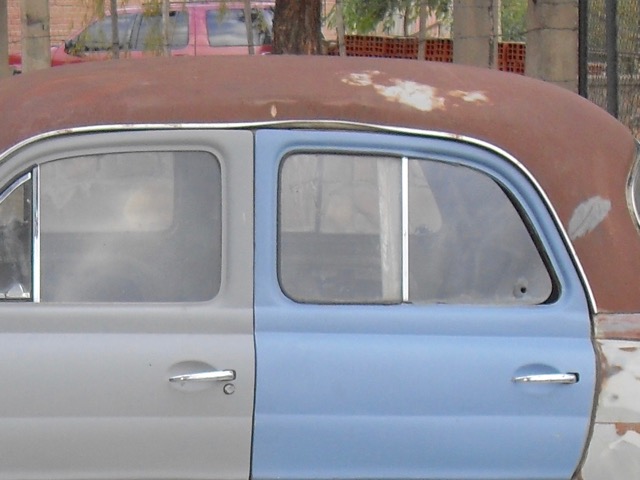
One factor that increased the work on the Renault was that it had to be lifted onto a truck to bring it home from where I bought it. The crane strapped it through the roof, as they normally do, but the roof caved in, bending it and it's trim.
- There are four types of trim used on these, and most cars of those years. Stamped Aluminum, which is softer but must have the anodizing removed to finish. The Renault only uses this on the side trim and the rear fender vents. Since this is thinner, and corrosion sometimes eats into it, you need to be more careful. My Corvair process shows this restoration. I had to buy replacement aluminum trim for my Dauphine, as it only came with one strip (out of 8).
- Poured aluminum: This was used on the aftermarket rear grills I located. This is pretty thick and can be sanded easily, but in this case it also required sanding the edges where it had shrunk after cooling in the mold, and had never been properly finished
- Stainless Steel: This is the easiest to refinish, as you can hammer it, bend it, sand it, and polish it like new.
- Chrome: In this case bumpers and rear deck hinges. These can be welded, brazed, sanded, etc., as long as you use something that can be chromed. Then a good chrome shop to finish it. Some shops cannot do the antimony hinges, so my bumpers and hub caps were done by one shop and the hinges by another.
A few years ago I published this process for polishing my Corvair (and added a little of the Renault later), but here we will go straight to the Renault.
One factor that increased the work on the Renault was that it had to be lifted onto a truck to bring it home from where I bought it. The crane strapped it through the roof, as they normally do, but the roof caved in, bending it and it's trim.

Here is the problem in detail
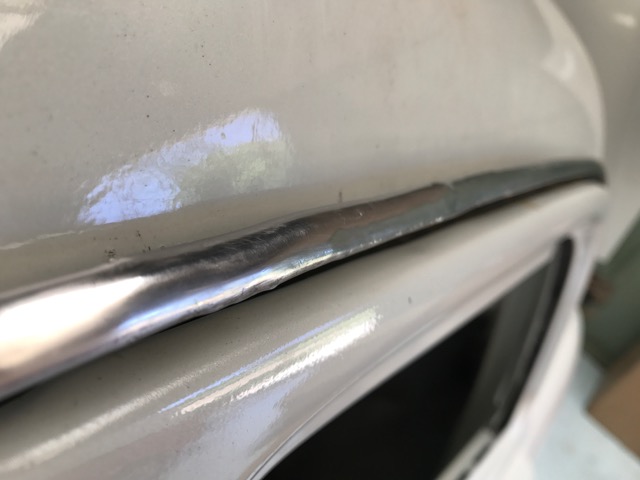
To straighten the roof and paint the car I removed the trim. After painting the body shop put it back, but with minimal, if any, straightening. This piece is very delicate and hard to straighten off the car.
This is how they returned the car.
This is how they returned the car.
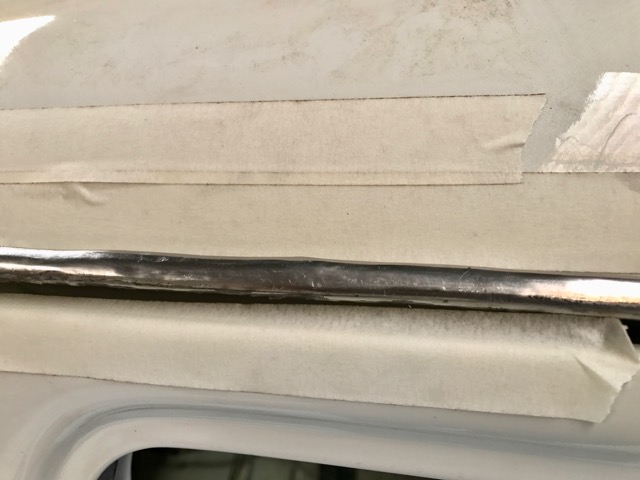
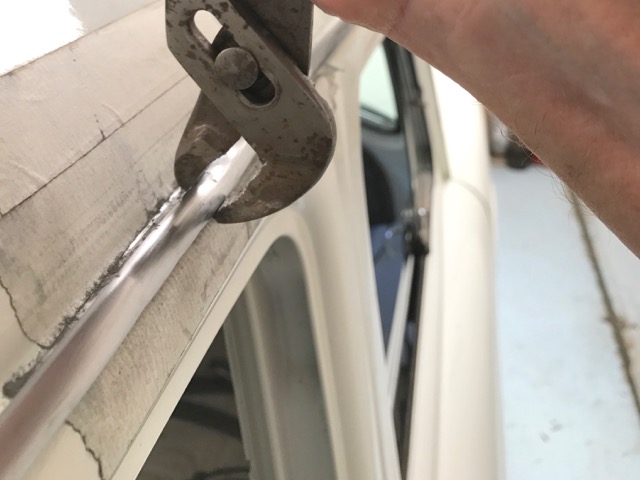
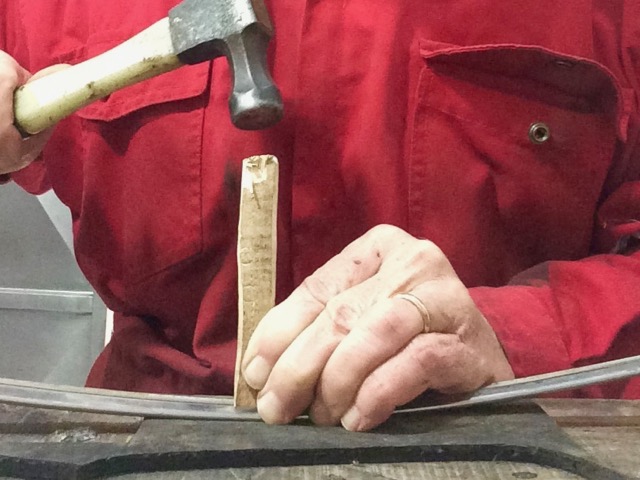
This is the first time I've done any restoration of trim while it is on the car. The first step is to protect the paint, so masking tape is key to avoid paint damage
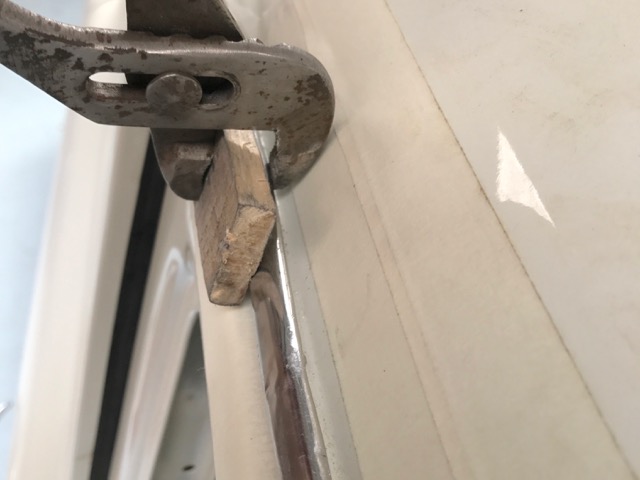
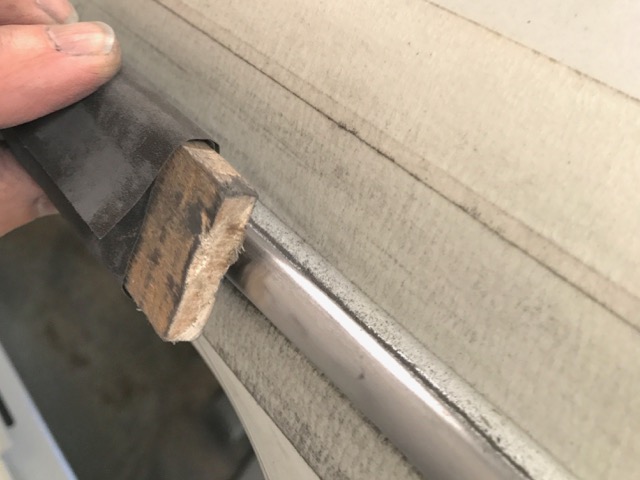
The next step is to flatten the high points and get it into basic shape. For this a pair of parallel jaw pliers is handy, as is a block of wood for some areas so as to spread the pressure across the front. Since you don't have access to the back side, everything needs to be done with tapping and bending in place.
Once things are relatively straight, you can sand, starting with 220 grit paper. At this point you may discover that you need to go back to the pliers or a wood block and hammer for a spot or two, as certain spots will not be sanded.
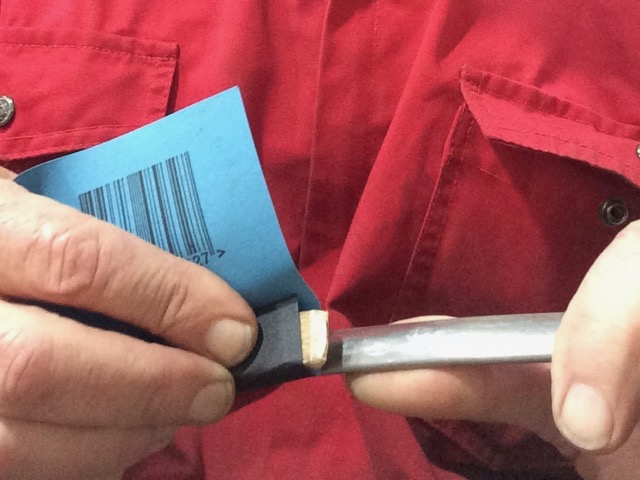
When things appear to be good, you move to 320 grit. Here I'm using a 3M 320 grit sheet that is silicon and bends better than regular sandpaper. It also outlasts many sheets.

Then you can move up to 400 or 600 paper, and then finish with 1000 grit. A 2000 grit paper would help, but none is available here.
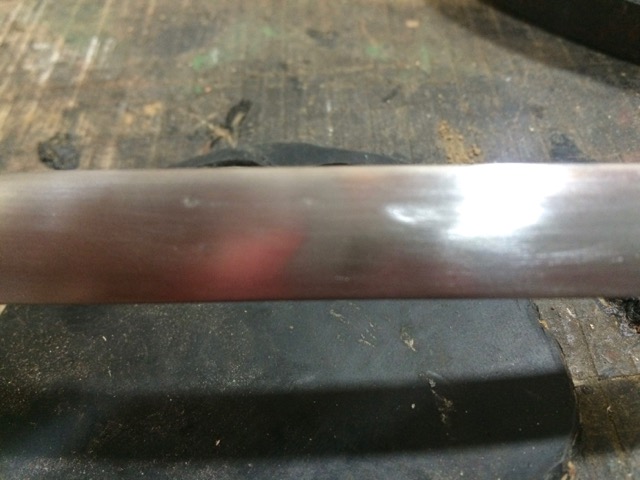
So the finished trim piece looks close to like it did 55 years ago when it left the factory in France.
So the finished trim piece looks close to like it did 55 years ago when it left the factory in France.

Other trim parts
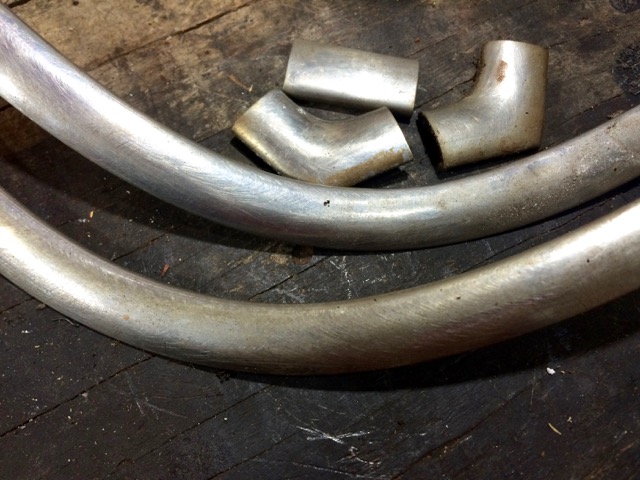
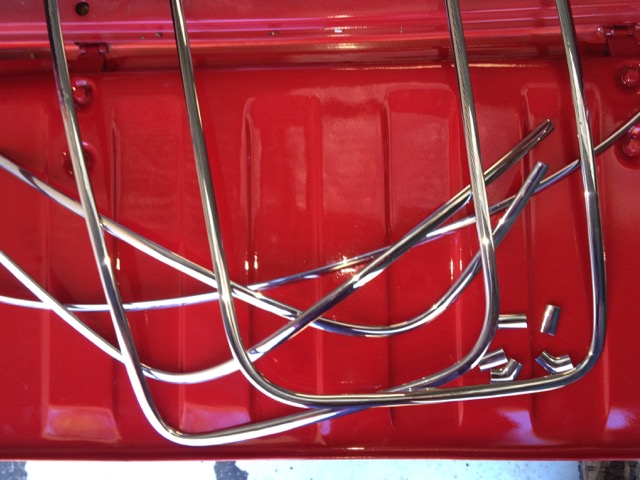
There are other parts that can be better handled off the car. Here are some of the pieces of the front and rear windshields that were in need of care.
Here is one of the dents that I had to remove before sanding and polishing.
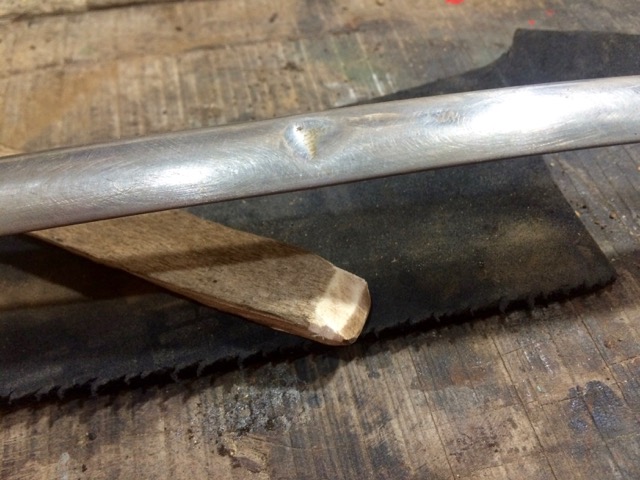
This part is straight forward. Constantly shaping a piece of wood to the curvature you need, you can hammer out the dent on a semi-hard surface. I use either leather or tire rubber.
Once the dents are apparently out, you begin the sanding process with the 220 grit paper.
Here you can see from the sanding that one little dent remains to be hammered out, so you go back one step and straighten it, then return to sanding.
Once you have worked you way up from the 220 grit through 320, 500, etc. to 1000 grit, you can get that extra gloss by buffing on the cotton wheel with polishing compound.
And finally you have the finished pieces, ready for assembly.
Some pieces may polish up as is, but with scratches. Here is one of the side vents that I bought on-line. It had a nice shine to it, but whoever restored it did not sand it first, so the result it shiny dents and scratches.
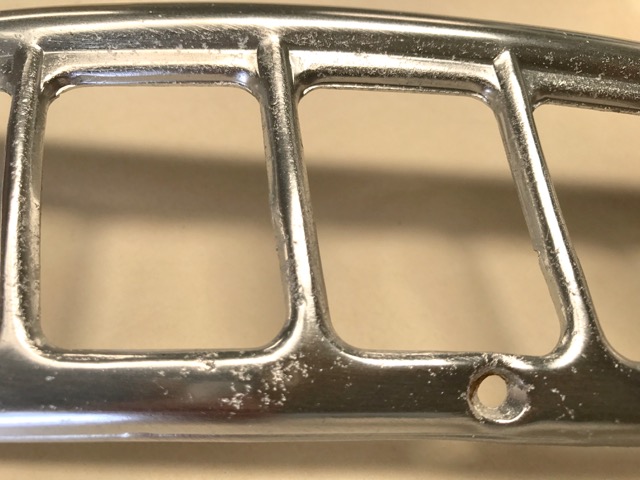
Since this had been anodized to protect it as polished, I had to soak it in caustic soda (diluted drain cleaner) to take that off and make it easier to sand. Then I sanded from 220 grit up to 1000, and polished, getting to a point close to new.
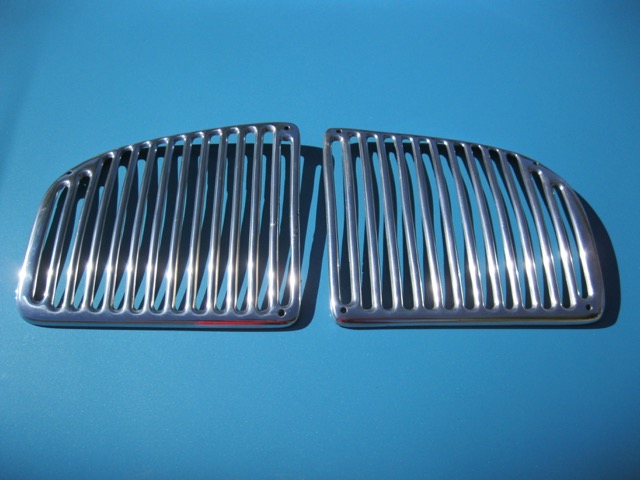
The rear grills that I found on a scavenger hunt for parts in Argentina were broken and scratched, painted, and had rust stains from being stored with other parts outside. It also had never been properly finished at the factory, with high marks all around from the shrinkage in cooling. So after welding the cracks, I started out to sand.
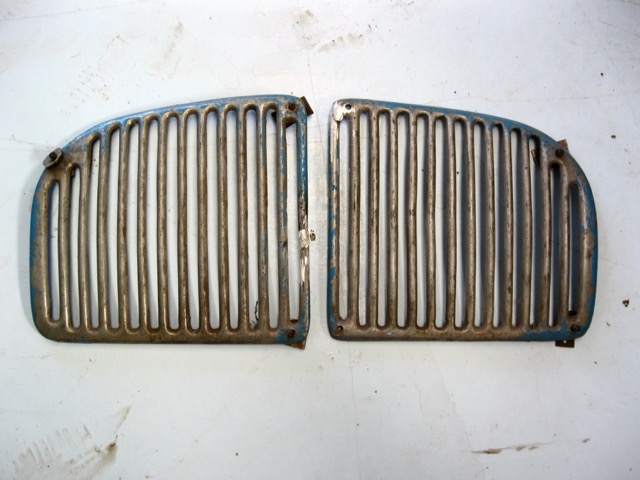
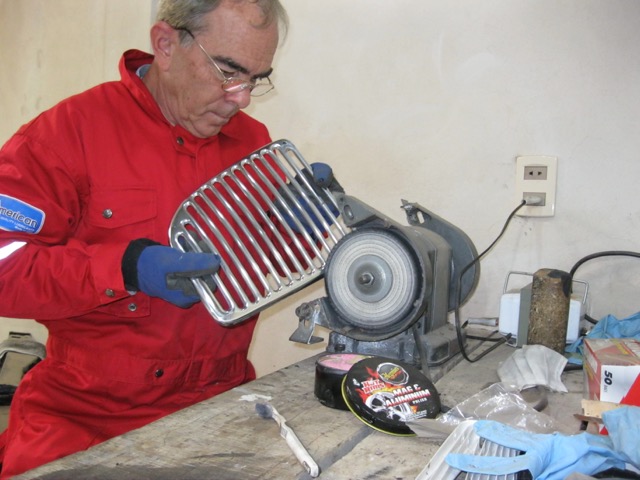
Sanding these took a while. I started certain areas with a round file, then moved on to make wood the right side and shape to wrap in sandpaper. here I started with a 150 grit and worked my way up to 1000 before buffing.
Here again the buffer comes in real handy, as it will cut away nicely at the aluminum, but you need to clean the wheel and move to a finer compound for the final polish.
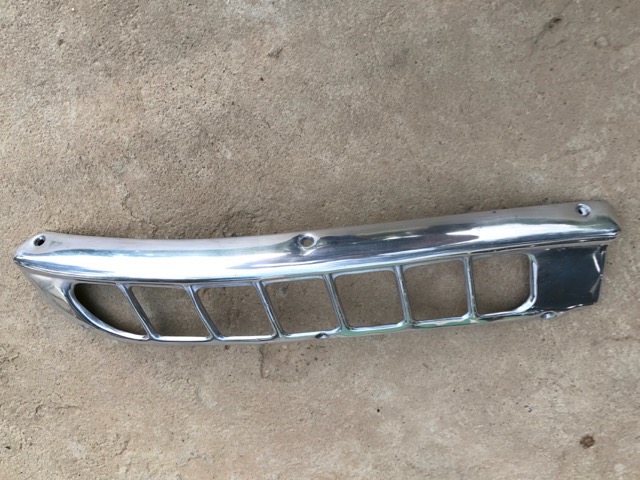
So these are the final pieces, ready to go on the car.
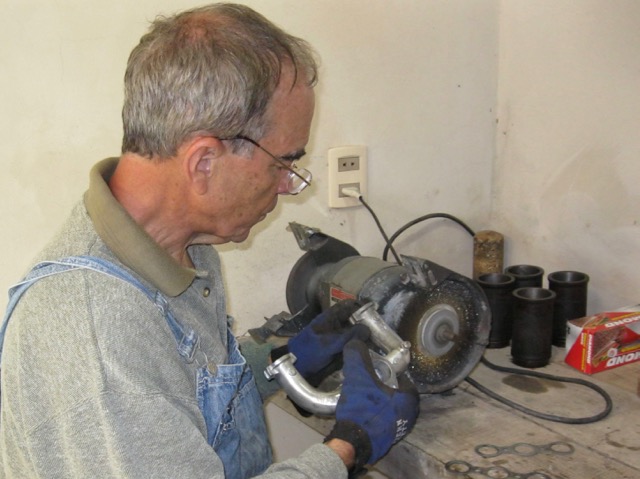
Another area that should always get attention is the intake and exhaust manifolds. Here is how mine looked when I bought the car. The intake manifold is cast aluminum, so it can be cleaned and buffed nicely.
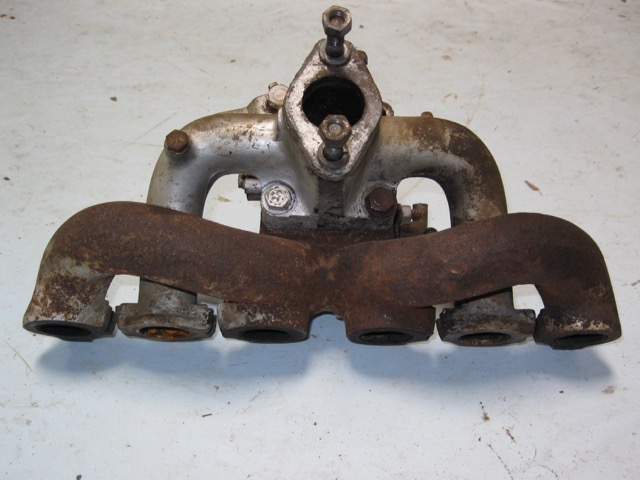
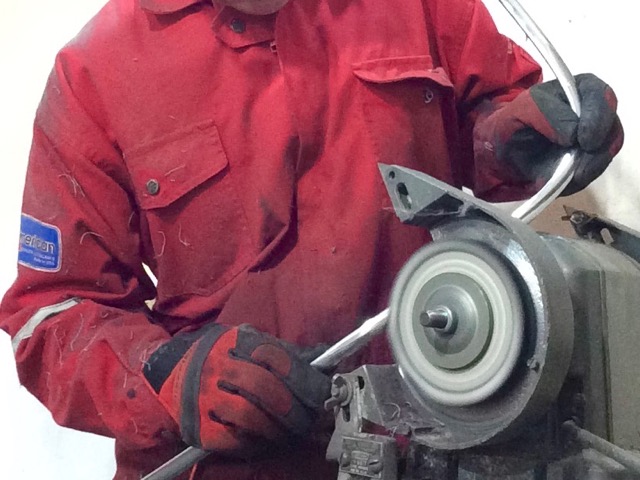
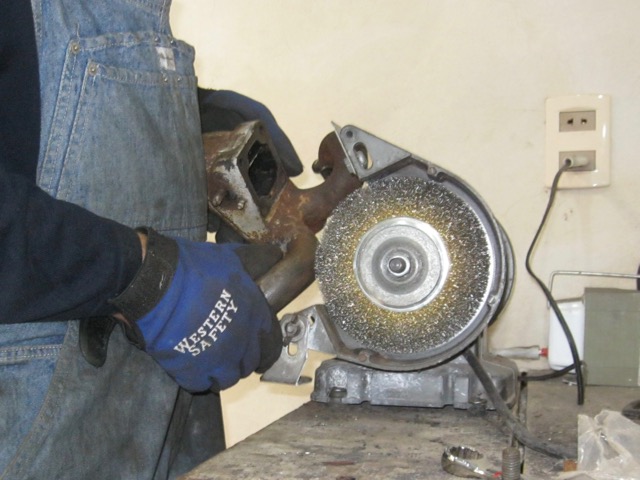
The first step for these is on the grinder/buffer, replacing one of the wheels with a wire brush. A set of small wire wheel brushes for a drill are good for the corners. Once the wire wheels have done their work, change the wheel back to the cotton polishing one and give it the final shine.
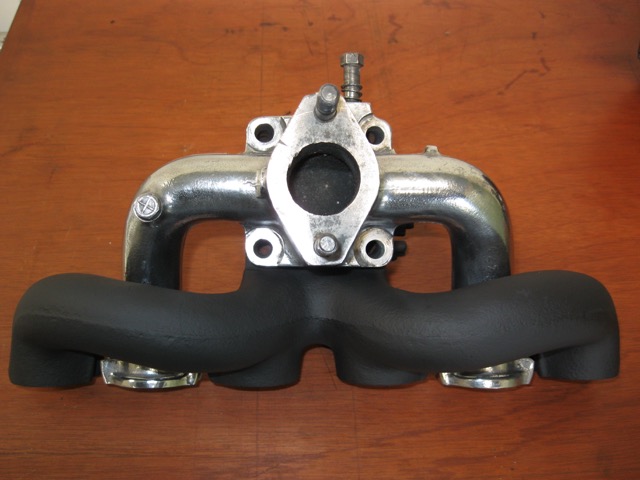
The wire brush wheel is also great for the rusty exhaust manifold. A small wire wheel on the drill also comes in handy for certain areas.
Once all the rust is off, it is ready for a coat of black high temperature paint. Just be careful in this process that you don't handle it with polishing compound, as it could affect the adhesion of the paint. This is supposed to withstand 1200ºC.
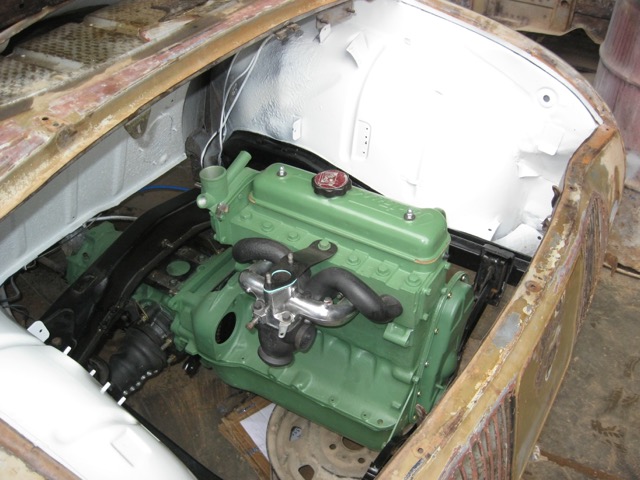
So here is the manifold set installed on the rebuilt engine.
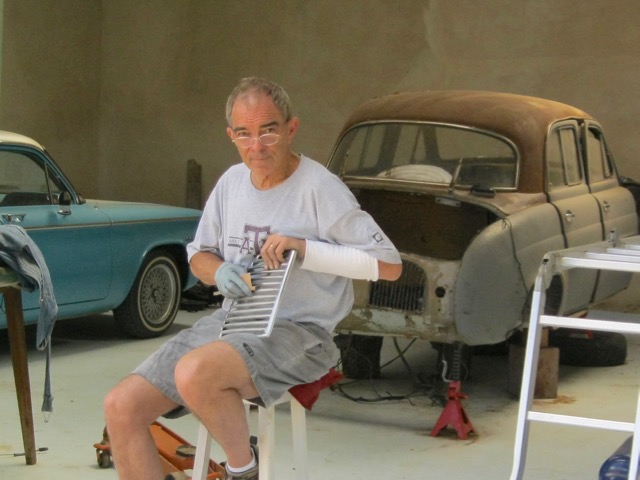
Note that I always use, and recommend, work gloves when polishing on the grinder/buffer. You never know when a wire will fly off, or a piece will catch and pull your hands into the wheel.
- Eye protection is also recommended. I normally put protective goggles over my regular glasses when using the wire wheel.
- And a breathing mask is best when polishing (especially aluminum), as the dust from the compound and metal get in the air.
